
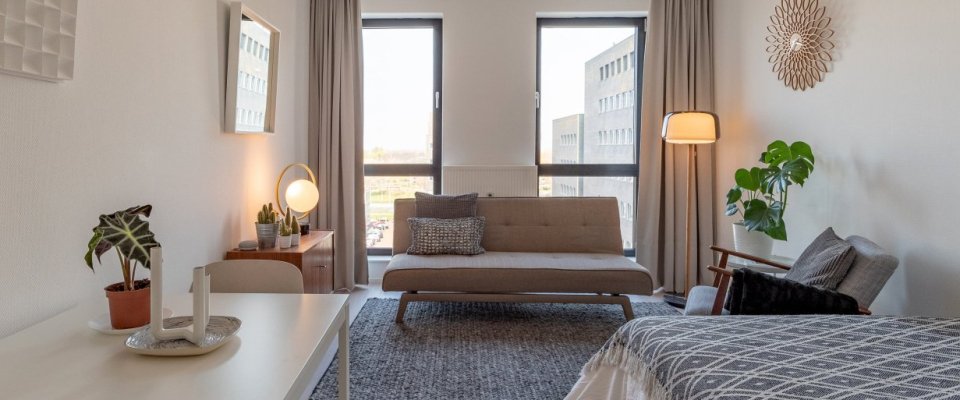
How to decorate your unfurnished studio
Just moved into one of our unfurnished studios at Amsterdam Amstel, NDSM, or Zuidas? That means it’s time to start decorating! The studio is your oyster, and you have the freedom to decorate it to your taste. It’s your home, after all! Curious to learn what you can and can’t do? Need some inspiration? We’ve collected the best tips and tricks for you.
Start with the big stuff
First things first! When you’ve collected the measurements of your studio, it’s time to start thinking about which large furniture items to add to your studio. This is very personal and varies per person. What’s your lifestyle like? If your studio is also your study space, you’ll need to create a study nook. Love hosting dinners? Then, a dining table is essential. If you want to shop sustainably, check out this article about the coolest second-hand furniture in Amsterdam.
In unfurnished studios at Student Experience, you can place laminate flooring on top of the floor covering (although you don’t have to!). Pay attention to the thickness of the floor. We recommend a maximum thickness of 6 mm of the laminate. Remember that at the end of your lease term, you’ll have to deliver the floor in its original condition.
Curtains make your studio cozier and can help you get a good night's sleep. That’s a win-win! You can install your own curtains using the curtain rail your studio is equipped with. Roller blinds or Luxaflex are also great options - as long as you don’t drill into the walls! A handy trick for installing them is to use clamp supports, which are available at Kwantum.
Create extra space
Extra (storage) space is always a good idea. You can easily create extra space in the kitchen with a kitchen trolley. Fill it however you like: store your dishware, herbs & spices, cookbooks, or add some fresh herbs and flowers.
Using multipurpose furniture also helps maximize your space. Think of sofa beds or beds with storage space underneath. To divide your space, you can use a shelving unit (such as Kallax) to separate your study or living area from your sleeping area while creating extra storage.
Want your studio to appear bigger and brighter? Choose a light color scheme to create optical space. Placing mirrors in your studio can also create the illusion of having more space. Just ensure you don’t position the mirror facing your bed - that’s not very Feng Shui.
Make it yours
Now you’ve got the big things out of the way, it’s time to put the finishing touches in your studio. From choosing the best plants for your studio and nice bedding with matching cushions to adding books, vases, and other little trinkets - personalizing your studio is all in the details. This will help to really make it feel like home!
Our top tip is not to rush this step. As long as you’ve got your essentials down (the things you need to function on a daily basis), you’ll be fine. And let’s keep it real: the best accessories to jazz up your studio aren’t found in just one section of IKEA. They’re a collection of gifts, souvenirs, vintage treasures, and other one-in-a-million purchases gathered over a period of time.
Want to show off some photos or artwork? Remember that drilling into the walls or attaching things to them is not permitted, but you can use the photo rail to hang photos, images, or cards. Or get some nice secondhand photo frames!
If you’re ready to start decorating but need a little bit more information, check out our Pinterest board filled with loads of inspiration you can use for your studio. Good luck!
.jpg)


